


 I must confess something. I don't like strawberries. I like strawberry jelly and strawberry sauce but I don't like the fruit itself. I don't even like it covered in chocolate. I think I may be the only person I know that doesn't like strawberries. I think they are such a beautiful fruit to make desserts with but I always pass them off to Alex when they are given to me. You see, Alex loves strawberries. They might even be his favorite fruit. But because I'm not a fan of the fruit, strawberries are seldom bought (does anyone else's partner "forget" about certain foods kept in the house?). So when I saw that Cristine of Cooking with Cristine selected a Berry Tart for this week's TWD I knew I'd make it using strawberries.
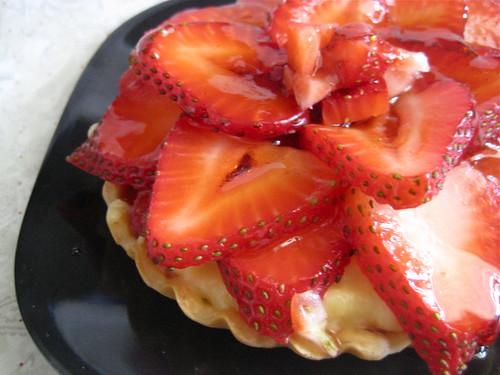 I cheated a bit with this selection. I had about 30 minutes to put this whole thing together so I used store-bought pie crust. Sorry! The crust baked while I made the pastry cream and I cut up the strawberries while the cream and crust cooled. The tart was very good, or at least the part with the crust, pastry cream, and strawberry jelly was very good.
 I took the dessert to our family Mother's Day celebration and it was a hit. The dessert comes together easily (or easily if you are using store-bought pie crusts!) and is stunning to look at. And again, while I can't appreciate the taste of fresh strawberries, I can appreciate their beauty as they lay on top of a tart.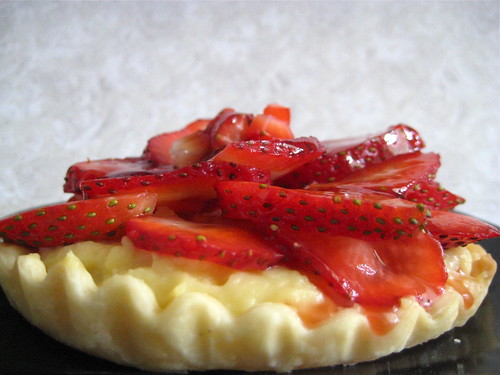
 I can't believe it's already been two years since Laurie started Tuesdays with Dorie. Two years ago I didn't even know who Dorie Greenspan was and didn't know how to make about 3/4 of the recipes in her book. To say that I love Baking: From My Home to Yours is an understatement. If I'm ever in a need of a recipe that will surely be a hit, Dorie is the first resource I check. I'm so glad I joined TWD when I did because not only has my baking improved but my confidence in the kitchen has also improved.
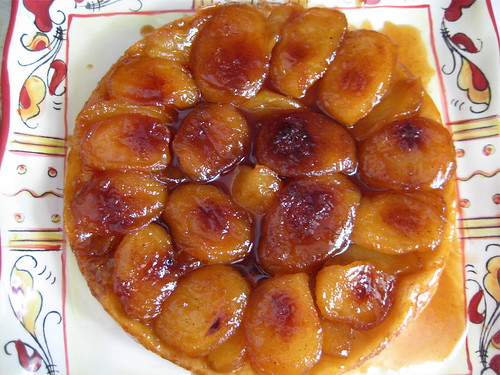 The past two years have been great and I look forward to what year three has in store.
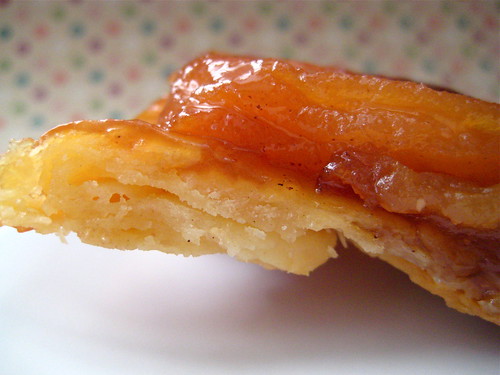 For the recipes for the Tarte Tatin and the Cocoa Buttermilk Birthday Cake head over to Laurie's blog Slush.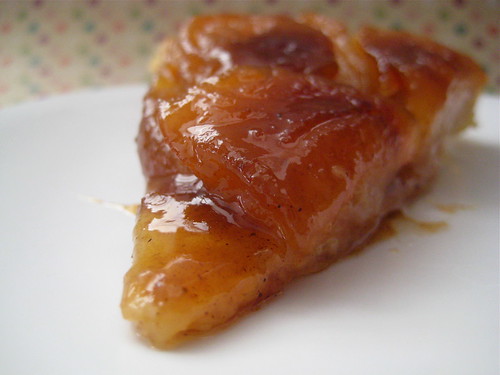
 The September 2009 Daring Bakers' challenge was hosted by Steph of A Whisk and a Spoon. She chose the French treat, Vols-au-Vent based on the Puff Pastry recipe by Michel Richard from the cookbook Baking With Julia by Dorie Greenspan.
Prep Times:
-about 4-5 hours to prepare the puff pastry dough (much of this time is inactive, while you wait for the dough to chill between turns…it can be stretched out over an even longer period of time if that better suits your schedule)
-about 1.5 hours to shape, chill and bake the vols-au-vent after your puff pastry dough is complete
Yield: 1/3 of the puff pastry recipe below will yield about 8-10 1.5” vols-au-vent or 4 4” vols-au-vent
 Michel Richard’s Puff Pastry Dough
Mixing the Dough:
Check the capacity of your food processor before you start. If it cannot hold the full quantity of ingredients, make the dough into two batches and combine them.
Put the all-purpose flour, cake flour, and salt in the work bowl of a food processor fitted with a metal blade and pulse a couple of times just to mix. Add the water all at once, pulsing until the dough forms a ball on the blade. The dough will be very moist and pliable and will hold together when squeezed between your fingers. (Actually, it will feel like Play-Doh.)
Remove the dough from the machine, form it into a ball, with a small sharp knife, slash the top in a tic-tac-toe pattern. Wrap the dough in a damp towel and refrigerate for about 5 minutes.
Meanwhile, place the butter between 2 sheets of plastic wrap and beat it with a rolling pin until it flattens into a square that's about 1" thick. Take care that the butter remains cool and firm: if it has softened or become oily, chill it before continuing.
Incorporating the Butter:
Unwrap the dough and place it on a work surface dusted with all-purpose flour (A cool piece of marble is the ideal surface for puff pastry) with your rolling pin (preferably a French rolling pin without handles), press on the dough to flatten it and then roll it into a 10" square. Keep the top and bottom of the dough well floured to prevent sticking and lift the dough and move it around frequently. Starting from the center of the square, roll out over each corner to create a thick center pad with "ears," or flaps.
Place the cold butter in the middle of the dough and fold the ears over the butter, stretching them as needed so that they overlap slightly and encase the butter completely. (If you have to stretch the dough, stretch it from all over; don't just pull the ends) you should now have a package that is 8" square.
To make great puff pastry, it is important to keep the dough cold at all times. There are specified times for chilling the dough, but if your room is warm, or you work slowly, or you find that for no particular reason the butter starts to ooze out of the pastry, cover the dough with plastic wrap and refrigerate it . You can stop at any point in the process and continue at your convenience or when the dough is properly chilled.
Making the Turns:
Gently but firmly press the rolling pin against the top and bottom edges of the square (this will help keep it square). Then, keeping the work surface and the top of the dough well floured to prevent sticking, roll the dough into a rectangle that is three times as long as the square you started with, about 24" (don't worry about the width of the rectangle: if you get the 24", everything else will work itself out.) With this first roll, it is particularly important that the butter be rolled evenly along the length and width of the rectangle; check when you start rolling that the butter is moving along well, and roll a bit harder or more evenly, if necessary, to get a smooth, even dough-butter sandwich (use your arm-strength!).
With a pastry brush, brush off the excess flour from the top of the dough, and fold the rectangle up from the bottom and down from the top in thirds, like a business letter, brushing off the excess flour. You have completed one turn.
Rotate the dough so that the closed fold is to your left, like the spine of a book. Repeat the rolling and folding process, rolling the dough to a length of 24" and then folding it in thirds. This is the second turn.
Chilling the Dough:
If the dough is still cool and no butter is oozing out, you can give the dough another two turns now. If the condition of the dough is iffy, wrap it in plastic wrap and refrigerate it for at least 30 minutes. Each time you refrigerate the dough, mark the number of turns you've completed by indenting the dough with your fingertips. It is best to refrigerate the dough for 30 to 60 minutes between each set of two turns.
The total number of turns needed is six. If you prefer, you can give the dough just four turns now, chill it overnight, and do the last two turns the next day. Puff pastry is extremely flexible in this regard. However, no matter how you arrange your schedule, you should plan to chill the dough for at least an hour before cutting or shaping it.


