As a random side note, we got Cati's backpack a few days ago and it is the cutest thing ever (Pottery Barn clearance, woo hoo!)! She wants absolutely nothing to do with it but I hope she grows to like it because I am dying to get a picture of her carrying it. I'm actually really excited about her starting school and meanwhile Alex is shedding tears. Ironic, huh?

For more on baking with Cookie Carnival head over to our lovely host's blog, Tami's Kitchen Table Talk.

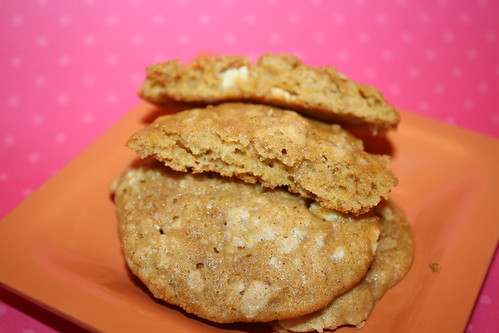
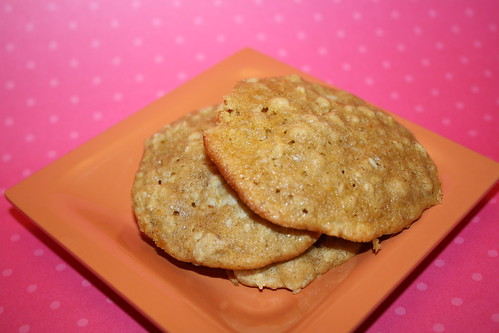
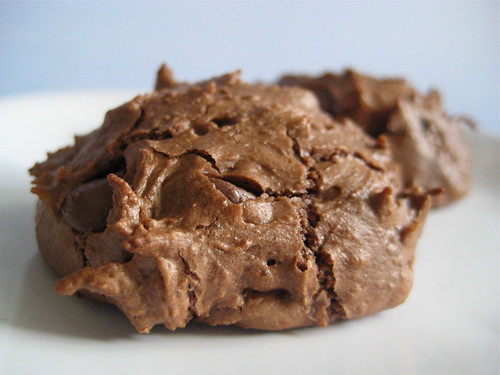
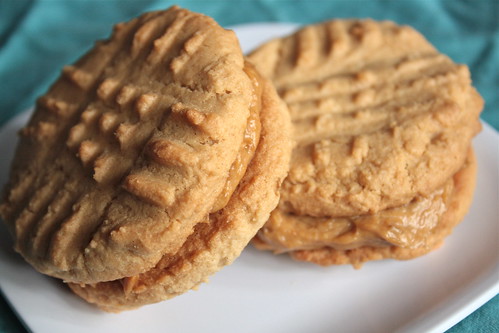
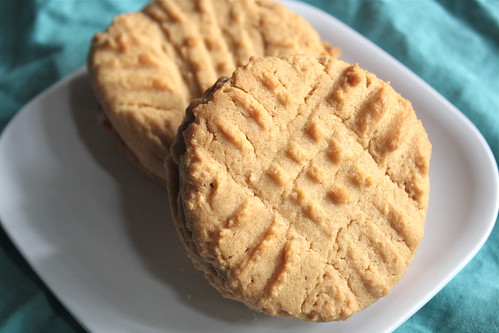
Sweet Banana Peanut Butter Cookies
Source: Anna Olson on Food Network
Yields 12 cookie sandwiches
Cookie
1/2 cup unsalted butter, room temperature
1/2 cup sugar
1/2 cup brown sugar
1 egg
1 teaspoon vanilla extract
1/2 cup peanut butter (smooth or crunchy)
1 1/2 cups all purpose flour
1 teaspoon baking soda
1/4 teaspoon salt
Filling
1 tablespoon unsalted butter, room temperature
1 1/2 tablespoons golden brown sugar
1/2 tablespoon sugar
1 tablespoon rum
pinch cinnamon
2 bananas, sliced
1/2 cup cream cheese
1/2 cup smooth peanut butter
For cookies, preheat oven to 350° F. Cream together butter and sugars until pale and fluffy. Beat in egg and vanilla. Stir in peanut butter. In a separate bowl, combine flour, baking soda and salt. Add to peanut butter mixture and blend in. Drop by tablespoonfuls onto an ungreased cookie sheet and crisscross mark them with a floured fork. Bake for 9 to 11 minutes, until cookies just start to colour around the edges.
For filling, in sauté pan, melt butter over medium heat. Add sugars and increase heat to medium-high. Stir until melted and bubbling. Add rum (watch out for flames). Add cinnamon. Stir in bananas to coat, set aside.
Cream together cream cheese and peanut butter until smooth. Mash bananas and add to cream cheese mixture until smooth. Chill for 20 minutes.
To assemble, fill between 2 peanut butter cookies to make sandwiches. Repeat with remaining cookies.