It took my long enough, but here's this week's
TWD selection courtesy of Amanda from
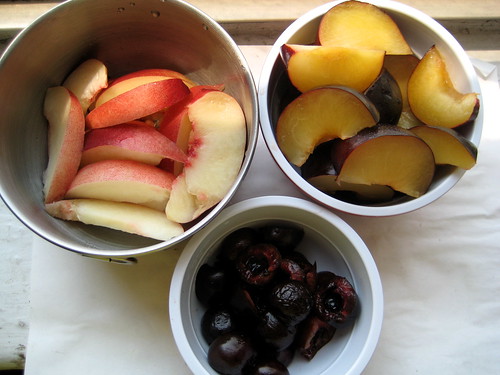
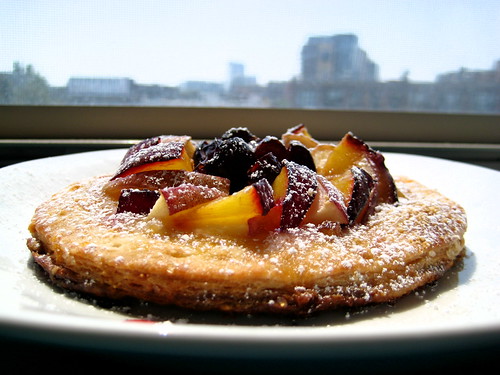
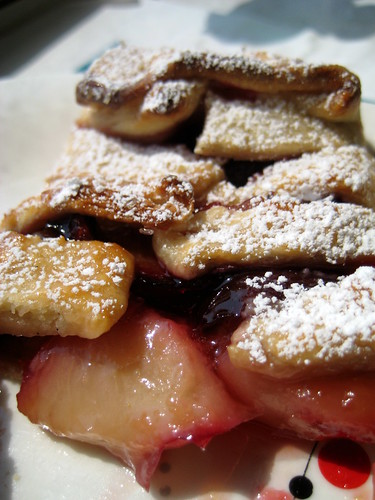
Like Sprinkles on a Cupcake. I was very excited to make this recipe because it was simple and quick to put together. I was even more excited because I have never made a cobbler before and I have never had a cobbler before. Sometimes I think I grew up in some kind of dessert bizarro world. Since I couldn't find rhubarb at the store I decided to make an all-cherry cobbler. I had a weird response to this dessert: I thought the cherries tasted great and I thought the biscuits tasted great (I loved the ginger accent in each) but I didn't like the way it all tasted together. Something about the two didn't flow together to create salivary deliciousness for me. It's hard for me to describe since I have never had cobbler before and I have no idea how it's supposed to taste. Once again, I am going to have to wait for the cobbler expert (Alex) to get home and give me his review of this dessert. Make sure to check out all the other amazing blogs and their reviews of this cobbler on the
TWD website!
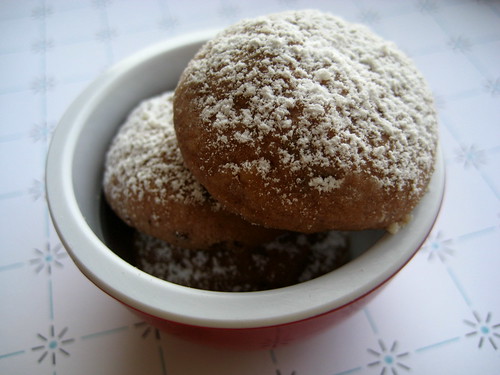
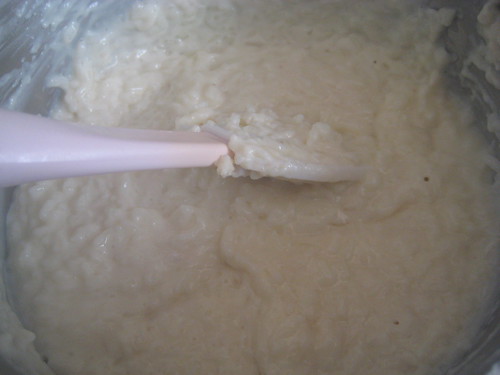
The biscuit.
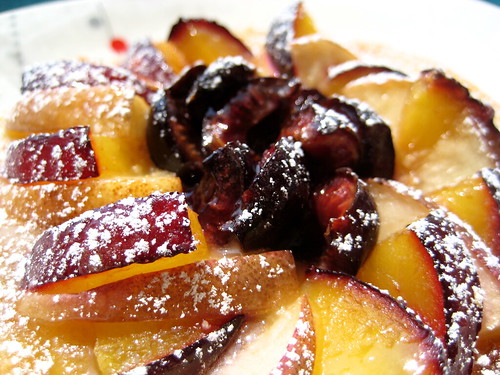
The cherries.